How To Look After Your Kefir Grains in 6 Easy Steps
I get commissions for purchases made through links in this post. View our Affiliate Disclaimer.
Looking after your kefir grains and harvesting and feeding daily need not be a chore.
My daily process takes all of 15 mins – can hardly be considered a chore!
Before I go into the process I use, here are a few tips in looking after your kefir grains.
- Feed them with fresh milk daily – every 24 hours in warm weather (I use full cream pasteurised milk)
- DO NOT use UHT or ultra-pasturised milk (long-life milk)
- Cleanliness is key – you want to encourage good bacteria, not bad bacteria!
- Do not use metal strainers or utensils – the bacteria react with the metal and it kills them
- While your kefir is doing it’s work, keep it in a dark place away from strong wind, pets, pests (flies and fruit flies), pesticides and other fermenting projects – I keep mine in my grocery cupboard
- Ideal temperature for the culture is 21⁰ Celsius. The warmer, the faster the process will be, the cooler, the slower the fermentation process.
Equipment You Need To Look After Your Kefir Grains
Firstly get all your equipment ready. You will need the following household items :
- Paper towel – to catch the drips
- Wooden spoon
- Clean jar for the grains
- Plastic sieve
- Clean linen cloth to cover the grains
- Jug to strain the kefir into

Step 1 Pour Into Sieve
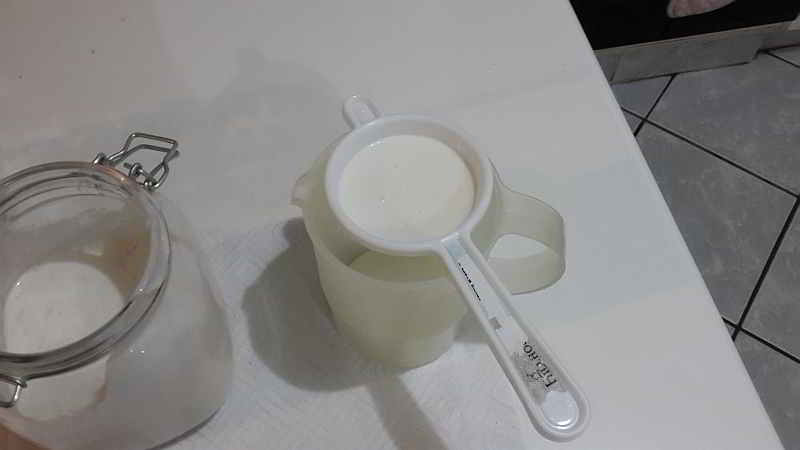
Uncover the fermented kefir and pour some into the sieve over the jug. Only pour a little in at a time – don’t over fill the sieve.
Step 2 Filter With Wooden Spoon
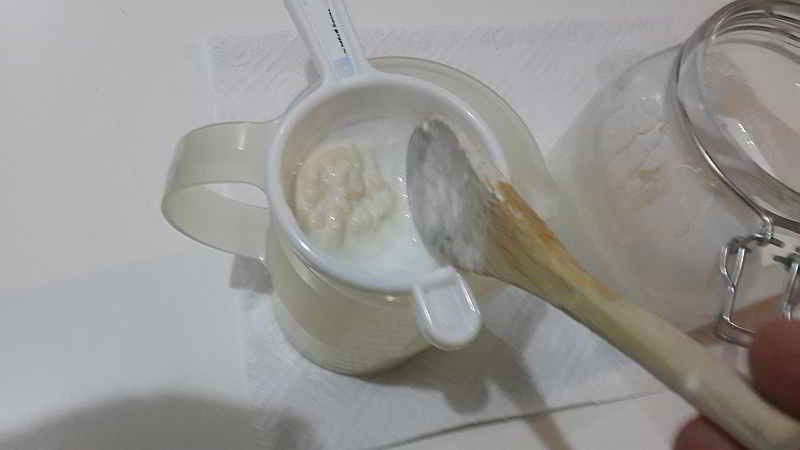
Use the wooden spoon to move the grains around in the sieve and help the kefir to move through the sieve into the jug, leaving the kefir grains in the sieve.
Step 3 Place Grains In Clean Jar
Scoop the kefir grains out of the sieve with the wooden spoon and place in the clean jar.
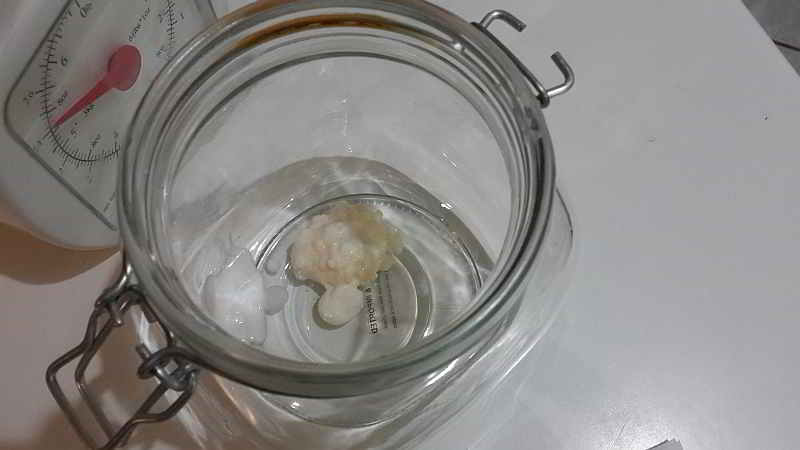
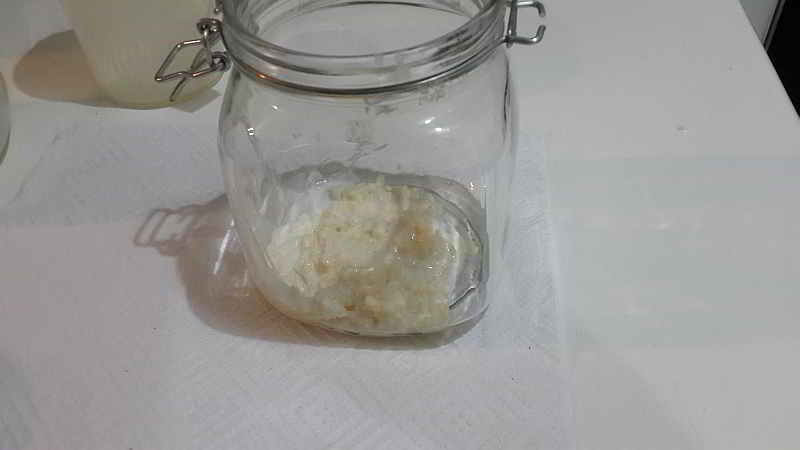
Repeat steps 1 and 2 until all the kefir has been drained off and all your kefir grains are in your clean jar.

Step 4 Decant Kefir
Pour your kefir from the jug into a clean container for storage in the refrigerator. I use milk bottles that I have thoroughly cleaned and allowed to dry with the top off.
You can store your Kefir in the refrigerator for about a month. The fermentation continues while in the fridge, but at a much slower rate. The time you keep your kefir before use is up to you, but it will become more tart the longer you leave it in the fridge.
Take a look at our posts on making kefir yoghurt and kefir cream cheese. This way you can get your family to use it without them even knowing they are eating healthy!
Subscribe to MyGreenTerra to get notified when we post about new and creative ways to use your home made kefir.
Step 5 Feed The Kefir Grains
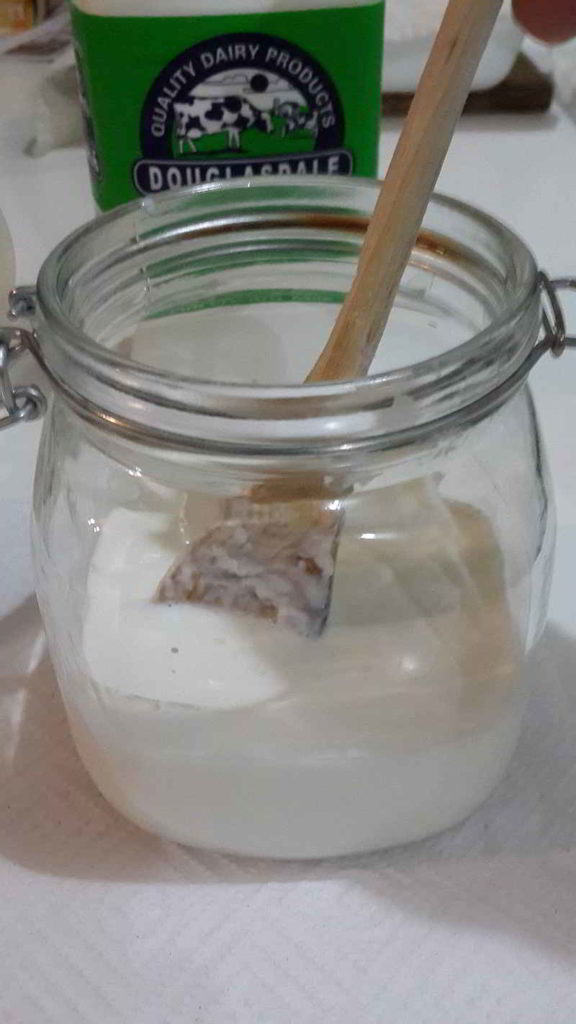
Now it’s time to feed your kefir grains.
Pour fresh full cream milk over the kefir grains that have been strained out in the clean jar.
Stir the milk gently with the wooden spoon to ensure the grains are mixed with the new milk.
The amount of fresh milk that you give your grains will depend on the amount of grains you have and the current temperature that the grains will be operating in.
I use 350-400ml of fresh milk per day to feed my kefir grains, so I go through about 2L of milk in about 4 days or so.
Step 6 Set To Ferment
Cover your newly fed kefir grains with a clean linen cloth. Secure the cloth in place with an elastic band – I double up on the elastic bands just to make sure the seal is tight.

The purpose of the linen cloth is to keep unwanted pests like ants, flies and fruit flies out of your kefir, while still allowing the kefir to breathe (get oxygen for the fermentation process) and collect natural yeast from the surrounding air.
You can now store your mini kefir farm in a dark place such as a cupboard, and let your kefir grains do their work.
Due to the fact that your kefir grains absorb things from the atmosphere, make sure you store your kefir in a place away from pesticides and from other fermenting processes you may have on the go, such as fermenting vegetables.
That’s it – the easy, no mess, no fuss 6 step process to keeping your kefir grains happy and healthy and producing kefir for you!
Get more posts like this
Subscribe to our mailing list and get interesting homesteading and green living info and updates to your email inbox.
Thank you for subscribing.
Something went wrong.



I have always wanted to do this.