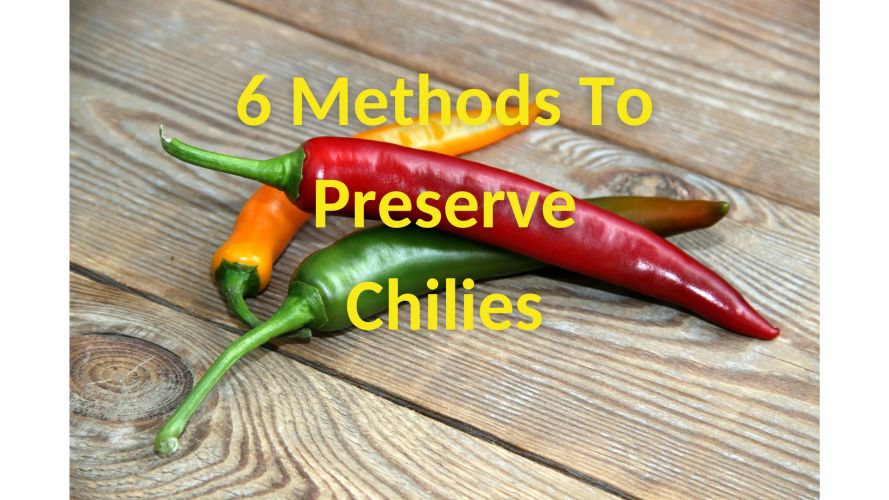
6 Methods To Preserve Excess Chilies
I get commissions for purchases made through links in this post. View our Affiliate Disclaimer.
Growing your own food is a great strategy for off-grid living or starting your journey to becoming self-sufficient. The problem with growing your own food is how to store the excess long-term for future use. Each crop will have its own best preservation methods, and we are exploring easy methods to preserve and store your excess chilies!
Follow our 6 easy methods for preserving your excess chilies!
- Drying or dehydrating (various methods)
- Pickling excess chilies
- Freeze your chilies. This only works if you have the means to freeze!
- Fermented chilies
- Chilies preserved in oil
- Salted chilies for preservation
A bumper crop of chilies is great for any gardener! It is satisfying to see the abundant fruit of your labor, but what can you do with all those chilies? We can help you get the most out of your chili harvest by preserving the excess crop in many different ways!
How To Preserve Your Excess Chillies
Preserving food is a skill that most of our forefathers knew how to do, and it was part of the daily routine. Refrigerators and electricity were not an option! Most modern-day people have lost this skill and will need to acquire this preservation skill for off-grid living or homesteading!
When it comes to chilies, there are a number of ways in which to preserve them for later use, some being more complicated or time-consuming than others.
Here are 6 basic methods of preserving your chilies!
1. Drying Your Chilies
Drying is a great way to preserve excess chilies, and there are a number of ways to do it. The fleshier chili varieties such as Habaneros and Bishops Crown chilies are not well suited to the drying method. The additional moisture in the fleshy parts makes them hard to dry out before they become moldy unless you have a dehydrator.
The chilies with a waxy coating, such as Birds Eye Chilies, are better candidates for the drying method.
The easiest method to dry out the chilies would be to lay them out in the sun to dry on a surface that allows ventilation both top and bottom. This method is the most basic but may not be possible in cooler or high humidity climates. In these instances, you may need a dehydrator.
To dry out your chilies, you would need to maintain an optimum temperature of about 25C (77F). If your temperature is lower than this, you run the risk of developing mold and losing the batch. If the temperature is too high, the dried chilies become brittle, and this is ok if you want to make chili flakes or powdered chili.
Other drying methods you can try are as follows:
- Oven drying
- Using a dehydrator
- Air drying in a ristra – tied together with string
Take a look at our post on 4 Ways To Dry Chillies for more details on these methods.
2. Pickling Chilies
If you enjoy the tart taste of pickled foods, then this is a great way to preserve chilies for future use. Pickled chilies can be enjoyed on their own, added to a salad to spice up the flavor, or added to stews and curries.
They make a great relish for serving with steak or cold meats or used as an additional pizza topping!
Read our post How to Pickle Chilies for a detailed recipe for this method.

3. Freezing Chilies
Obviously, this method is dependent on having a freezer and electricity to power the freezer! If your homestead has neither, then one of the other preservation methods will have to suffice.
Chilies handle freezing pretty well. They will retain their flavor and heat. The freezing method of preserving excess chilies is best used on the fleshier chili varieties such as Bishops Hat or Habaneros.
The method for freezing whole chilies is quite simple.
- spread them out on a baking tray so they are not touching (prevents them from becoming a solid lump)
- freeze then on the baking tray
- Once frozen, place them in a sealed container for storage
Another freezing method is to process the chilies first.
- Cut off the stalks
- Remove the seeds (if you don’t want too much heat)
- Freeze in a sealed container or bag, preferably in single portion-size quantities.
You can take the processing a step further and chop the chilies finely, place the chopped chilies in an ice cube tray and freeze.
You may want to have an ice tray dedicated to this purpose, as anything you freeze in the ice tray after this becomes chili flavored!
Once frozen, place the chili cubes into a container or bag to store in your freezer.
4. Fermented Chillies
Fermented foods have been in the diet of many cultures, both ancient and modern. Not only is fermentation a useful method of preserving food, but it has health benefits too. You can read about these benefits in our post 5 Reasons Fermented Foods Are Good For You.
5. Preserving Chillies in Oil
Preserving chilies in oil is a method that preserves the chilies and is a versatile ingredient to have in your kitchen. Olive oil is the best oil to use for this method of preservation.
The chili-infused oil can be used in any number of applications, from salad dressings to dipping sauces. The preserved chilies can be used in an equally numerous variety of ways.
Read our post on Preserving Chilies In Oil for details on this method and how to use the preserved chilies!
6. Salted Chilies
The salt method is one of the easiest ways to preserve your excess chilies. The ingredients are very basic; in fact, you only need 2. Salt and, of course, your chilies.
This recipe is to preserve 250g (0.5 lbs) of fresh chilies. Scale-up or down the salt quantity proportionately, depending on the amount of your chilies.
For the 250g of chilies, you will need 40g (1.4 ounces) of salt. I prefer to use Himalayan pink salt, but you can also use good quality sea salt. It is better to use coarse salt rather than finely ground salt.
The method is as easy as the ingredients!
- Wash your chilies and pat them dry
- Cut off the tops and roughly chop the chilies, leaving the seeds in
- Mix the chopped chilies with 30g (1 ounce) of the salt
- Place the salt and chopped chili mixture in a sterilized glass jar
- Cover the surface of the chilies with the remaining salt
- Seal the jar and store in a cool, dry place for a couple of weeks before refrigerating
That’s it! You can add the salted chilies to any dish to add some extra heat and chili flavor!
The Importance Of Chillies In Your Diet
Chilies are a healthy addition to your diet. They contain up to seven times the vitamin C level of an orange. Chilies are also a good source of vitamin A, E, Beta-carotene, potassium, and folic acid. Some of the health benefits of chilies include relief from sinus congestion, improved digestion, relief of muscle pain, and joint and nerve pain. Some people have even reported that chilies help to relieve migraines!
Besides the nutritional value of chilies, they are also tasty and can be used to add a new dimension of flavor and heat to a variety of dishes!
Chilies are seasonal growers, so in order to have chilies all year round, you need to preserve your excess chilies for out-of-season use.
Conclusion
Preserved chilies are an excellent method to save the abundant chili harvest and prevent the chilies from going bad before you can use them all.
These preservation methods will also help you improve your homesteading skills, improve your food preservation skills, and improve your food security by keeping your chili harvest for use months later!
Get more posts like this
Subscribe to our mailing list and get interesting homesteading and green living info and updates to your email inbox.
Thank you for subscribing.
Something went wrong.


